The secret to the fab taste is a new-to-us product called Sweet Freedom ® Choc Shot with Orange Spice which we found in our local Tesco. It comes in three flavours: Chocolate, Chocolate with Orange Spice, and Chocolate with Coconut. We went with the Orange Spice version! Some of the great things about Sweet Freedom ® Choc Shot with Orange Spice are that it has no chemical processing, no additives, no preservatives, no GMO’s, no gluten, no dairy, no soya, no eggs, no nuts and no refined sugar. It is also Vegan (Registered with the Vegan Society) and is made in the UK.
For both versions we used a half and half mixture of plain flour and rye flour, which gives a different texture to the brownies than just using all plain flour.
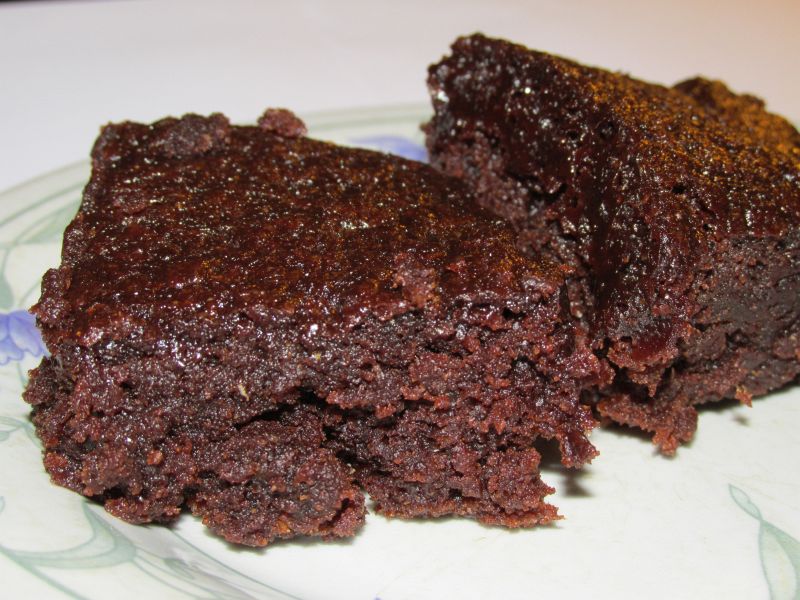
Alex's Chocolate Orange Brownies
Traditional Recipe
4oz soft brown sugar
225g butter or hard margarine
60g cocoa powder
1 tsp vanilla extract
1 tsp orange extract in oil
4 eggs
112g plain flour
113g rye flour
½ tsp baking powder
½ tsp salt
2 tbsp Sweet Freedom ® Choc Shot with Orange Spice
Mix all ingredients in a large bowl in the order in the recipe. Once thoroughly mixed tip the mixture into a lined baking tin approx 20cm x 30cm (8" x 12"). Bake in oven at Gas Mark 4 / 180C for 20-30 minutes or until a skewer comes out clean.
Eat warm with custard, or cold with whipped cream or ice cream for a delicious pudding, or enjoy it just on its own!

Alex's Chocolate Orange Brownies
Vegan Version
4oz soft brown sugar
225g soya spread
60g cocoa powder
1 tsp vanilla extract
1 tsp orange extract in oil
270g apple sauce (we use ALDI own brand)
112g plain flour
113g rye flour
½ tsp baking powder
½ tsp salt
2 tbsp Sweet Freedom ® Choc Shot with Orange
Mix all ingredients in a large bowl in the order in the recipe. The apple sauce replaces the eggs in the traditional recipe at the rate of 1/4 cup apple sauce = 1 medium egg. Once thoroughly mixed tip the mixture into a lined baking tin approx 20cm x 30cm (8" x 12"). Bake in oven at Gas Mark 4 / 180C for 20-30 minutes or until a skewer comes out clean.


